

To film a kayak paddler properly, you need to rig the kayak correctly. This means attaching a GoPro to the kayak and rigging it in a way that forces it to stay in the right direction.
There are several ways you can rig a kayak, but the best way depends on the kayak you are using. In this article, you’ll find the best ways to rig a kayak for filming.
Here’s The Answer To How To Rig Kayaks For Filming
There are many ways to rig a kayak for filming, but the first thing you should consider is the position of your camera. The best placement for shooting footage from inside a kayak is on top of your deck and pointed toward the bow or stern.
This way, as you paddle through the water and look forward, you will still be able to capture some amazing shots while paddling.
You’ll need a good fishing kayak with a rod holder and a gear track. This will allow you to keep your hands free while you’re fishing, and it will also give you a place to mount your camera.
You’ll need a good paddle. This will help you keep your kayak stable while you’re filming. And finally, you’ll need a good cockpit cover. This will keep your camera dry and protected from the elements.
With the following things, you should be able to rig up your kayak:
Rig Your Kayak For Stability And Smoothness

Using a camera mount will help you stabilize your camera while filming. You can use whichever amount you like, but it’s ideal for getting one that lets you freely adjust the camera’s location and angle on your kayak.
A tripod is another option for rigging your kayak for filming. A drone might be more convenient than carrying around a tripod, but it requires more time to set up and ensure everything is stable before recording.
Gimbals are also good for smooth footage without worrying about stability and positioning issues when drones or tripods are used.
If you don’t want someone else controlling how exactly their kayaks move while they’re out on their adventures, then gimbals are worth considering since they allow users full control over how their boats move through the water!
Position Yourself And The Camera Properly In The Boat
Properly positioning yourself and the camera in your kayak is crucial for getting great shots. Some of the suggestions are provided below:
- Position yourself as centrally as possible. If you’re using a GoPro, put it on top of the hull so it can see everything around it. If you’re using a larger camera, consider rigging up some sort of mount on top of the boat so you don’t have to hold it all day long.
- Make sure you are comfortable but stable in your position; this will help prevent fatigue and discomfort from ruining filming sessions later on! Try putting your feet together or sideways before starting; if there are any stability issues, try switching things up until they feel right (and safe!).
- You should be able to see what’s happening around you while filming with no difficulty. This means having enough room around where ever else might be sitting (or standing). Think feet forward versus feet back; when looking at how far apart, everyone needs space between themselves when paddling out onto open water.
Secure Your Filming Equipment To The Kayak
Securing the camera to the kayak is the first step in rigging your kayak for filming.
Whether you use a strap, bungee cord, tripod, lanyard, suction cup, or hook, it’s important to ensure that your equipment won’t fall into the water if you capsize or get knocked around by waves.
Some professionals recommend using a harness of some sort so there will be no risk of losing expensive cameras and lenses if they’re not secured properly.
Falling out of a boat while filming is more often than we’d like to admit; thus, some argue that merely having something linked to yourself will avoid any abrupt catastrophes.
Make Sure The Footage Is Smooth
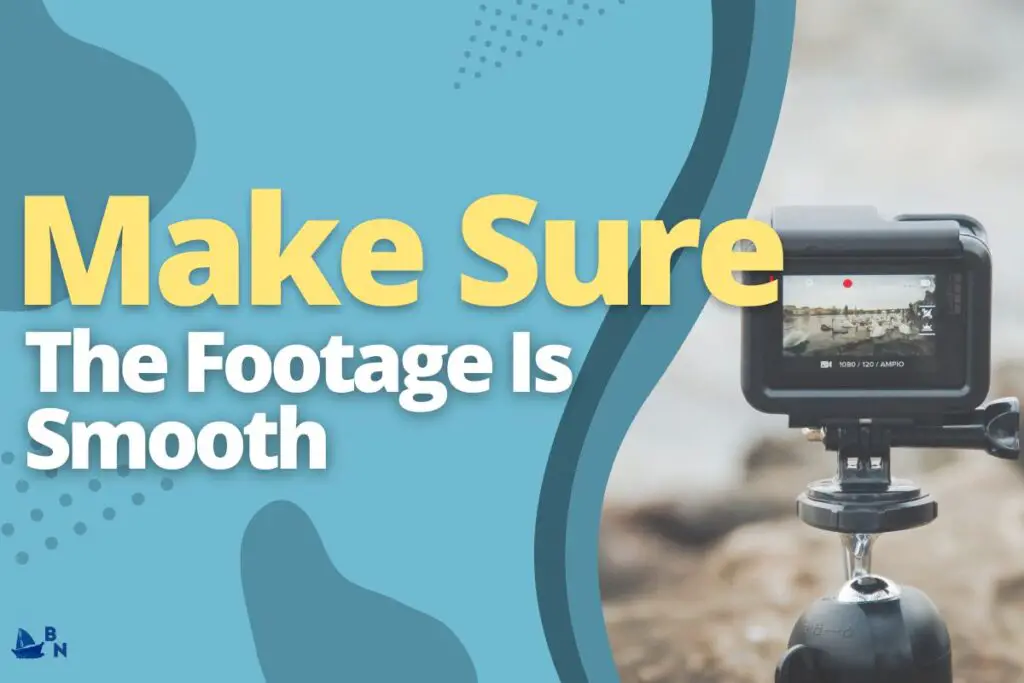
The first step to getting smooth video footage is ensuring you have a gimbal or stabilizer. A gimbal keeps the camera stable, which helps prevent shaky shots and blurring.
There are many different kinds of gimbals and stabilizers available, so make sure you choose one that fits your needs and budget. Some of these options include:
- A tripod with a built-in stabilizer
- A handheld stabilizer (which allows you to shoot while walking around)
- A handheld tripod with an attached handlebar grip (also great for filming while moving)
Consider using a stabilization system if your film project requires a lot of movement or action. Like these options listed above instead of just holding the camera yourself because they will help prevent shaky footage while also letting us achieve our creative vision.
Provide Proper Cushioning To The Camera Mounts
Whether using a gimbal or mounting your camera directly to the kayak, you need to provide proper cushioning. In most cases, this will come in foam or rubber. The goal is to protect your mount and your kayak from damage.
For instance, if you are using a gimbal for filming on water, it’s important that you put some sort of shock mount on it to minimize vibrations and shocks from hitting waves.
You could also use a tripod and attach that directly to your kayak’s deck. If you have access to these items ahead of time, they’re simple enough concepts that any novice can understand, and they won’t take long at all since many models come with quick releases, which make setup easy.
Use Waterproofing To All The Equipment
There are several ways to waterproof your equipment, whether using a GoPro or a regular camera.
- If any of the gear ends up in the water, it must be watertight to retrieve it. This means you should use a waterproof camera that can be recovered even if it falls into the water and has an LED light for better lighting in low-light situations.
- Use helmets (both yourself and your kayak) that protect you and your gear from falling overboard or getting banged up against rocks, etc.
- Waterproof cases like dry bags will ensure everything stays dry even if they get soaked in the rain or capsized by waves.
Use LED Light For Better Lighting
If you’re serious about filming your kayak, you should consider getting some LED lights. They’re brighter and more efficient than other lighting options and come in various shapes and sizes to suit your needs.
However, there are numerous additional gains from switching to an LED setup:
- LED lights are more durable than traditional bulbs. They can withstand impact without breaking, giving you the confidence that your camera will still be recording if it takes a tumble on the water or off a dock.
- Because they don’t run off gas, they won’t blow up on you (or burst into flames).
- They’re waterproof—which means no need to buy extra covers or cases! And because they don’t produce much heat, they won’t melt any plastic parts on your kayak either.
- They last longer, too—so if someone steals one of these bad boys off your boat. At the same time, it’s unattended for just one weekend with no battery power left inside them (which would happen eventually even if nobody had taken them). At least it’ll still work well enough afterward that replacing them doesn’t seem like such an expensive proposition anymore.
Tips For Safe Kayaking When Recording Videos
Before we get started, it’s important to note that you should always take a few safety precautions when filming kayaking videos.
First and foremost, you must always wear a life vest while on the water. In addition, wearing a helmet while kayaking is strongly recommended in emergencies or accidents.
Other than these two items, here are some additional items that could help ensure your safety:
- Gloves
- A whistle
- A skirt (optional)
- A splash skirt (optional)
Make Sure Your Kayak Is Stable
Stable kayaks make filming so much easier. You’ll want one that is long, wide, light, heavy, and strong enough to handle the rig’s weight.
For this reason, consider your physical characteristics and the dimensions of your photography gear when picking out a kayak.
The heavier you are, or the larger your camera gear is, will determine some of these requirements, such as length, breadth, and depth (or volume).
A longer kayak will have more room for rigging than a shorter one would – but only if there’s enough space between the cockpit coaming (where the seat goes) and the rear hatch (where all your stuff goes).
Always Keep An Eye On Your Surroundings
- Always keep an eye on your surroundings
- Don’t get distracted by the camera
- Don’t get distracted by the view
- Don’t get distracted by your friends
- Don’t get distracted by your phone or dog
Use A Waterproof Camera That Can Be Recovered Even If It Falls Into The Water
Use a waterproof camera that can be recovered even if it falls into the water. The first step in rigging your kayak for filming is ensuring that your camera is waterproof.
If not, it won’t last long when exposed to all those elements on top of the water. The good news is most consumer-grade cameras are at least splash-proof, if not fully waterproof, so finding one shouldn’t be too difficult.
Just make sure its outer casing is made from material strong enough to resist impact from rocks or other debris and any waves washing over your vessel, as well as prevent moisture from seeping inside where it could damage sensitive components like wires or circuits inside the device itself.
Accessories Required For Filming
There are a few accouterments you should have on hand for filming. Your kayak will be the best place to store these items, so you don’t have to worry about losing them.
- Dry bag: A dry bag is a vital piece of equipment for every water sports enthusiast, and it may be utilized in numerous ways on your kayak. You can use it as an extra storage option if you’re not using a waterproof case (which we’ll discuss later).
- Waterproof case: If you are using a dry bag, then it’s best also to get a waterproof case for your camera. This will protect your camera from exposure when out on the water or when returning home after fishing with friends.
- LED light: An LED light can illuminate the area around you for better filming at night or sunset, allowing optimal lighting conditions regardless of time or weather conditions. You’ll need one that clips onto your kayak so that all angles are covered during filming sessions; this ensures no shot goes unseen.
Conclusion
In this blog post, it was discussed that kayaks could be rigged for filming in several ways. The first rigging involves attaching a camera to the kayak with a mount.
This type of kayak rigging is the most popular among kayak enthusiasts. Next, a kayak can be rigged to allow the kayaker to move.
Finally, a kayak can be rigged to allow the kayaker to move while using the kayak to film. The latter two usually modify the kayak by adding a water tank.
Thanks for reading this blog post. We hope you found it helpful. Keep following us for more blog posts like this one.